To install the Single Product Customizer for WooCommerce plugin, you only need to follow the usual process, just like you can install any other plugin. You can follow the following steps:
You need to install the WooCommerce plugin first to use “Single Product Customizer for WooCommerce” and if you want to use “Single Product Customizer for WooCommerce Pro” then you need to remove the free plugin.
Installing the Pro Version
The Pro version of the “Single Product Page Customizer for WooCommerce” plugin is a zip file. After purchasing the Pro version you will get a download button in your my account dashboard, and also you will get this button on the thank you page.


- Go to your WordPress website Dashboard
- Navigate to Plugins > Add New
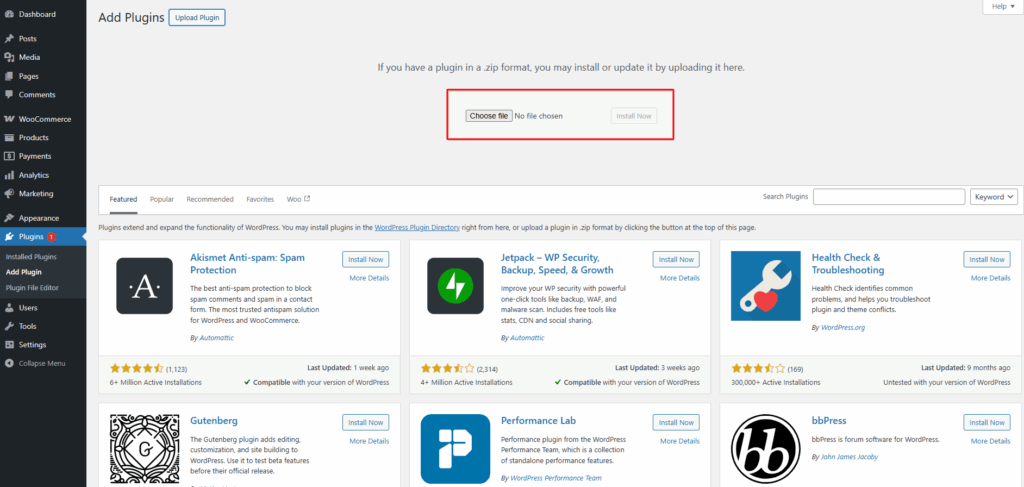
- Now check the options on the top right beside “Add Plugins” for the “Upload Plugins” option. Click on this.

Once you click the “Upload Plugin” button, you will get the plugin upload option from your computer. Now select the “single-product-customizer-pro.zip” file from your computer and click on the “Install Now” button
After the installation, you need to activate this plugin.
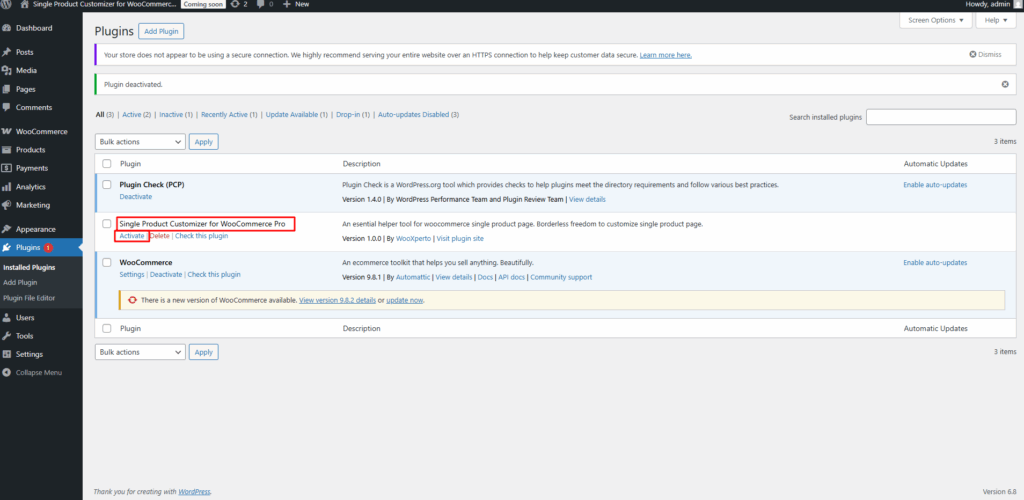
Then you get this plugin into the product section as a submenu “Single Product Customizer Pro”
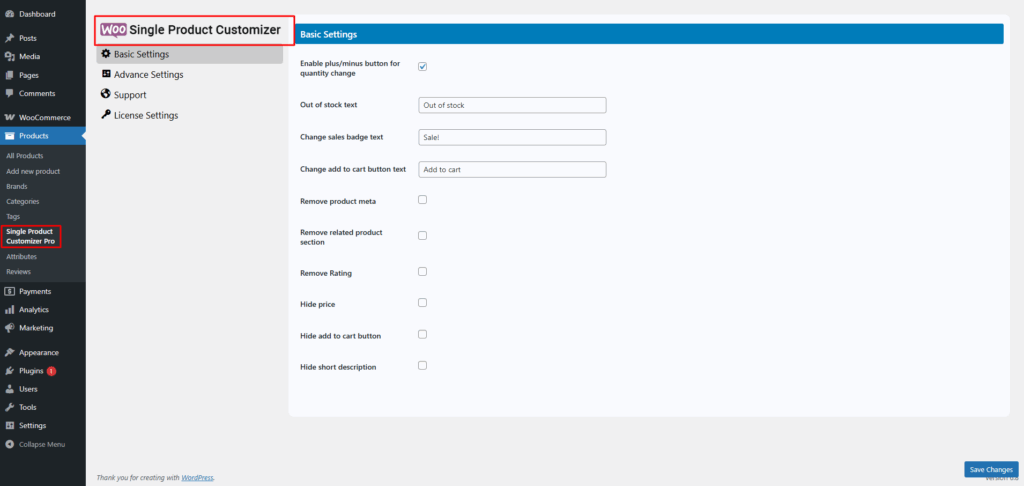
After activating the plugin, you need to activate the license using the license key you get in your “Account Dashboard” or your product purchasing thank you page.

To get the new update, you need to activate the license key.